node-red-contrib-alarm-ultimate 2.1.6
Alarm System node for Node-RED. Integrates also with Home Assistant, MQTT, KNX-Ultimate. Completed with web interface for fast configuration and control. With zone import wizard.

A complete alarm system for Node-RED, with a ready-to-use web control panel.
Create zones, arm/disarm with optional code, entry/exit delays, bypass, chime, panic, siren, 24h/fire/tamper zones and an event log — all configured from a friendly editor, no programming required.






▶ Watch the Alarm Ultimate video playlist on YouTube
Works great with


Built‑in Home Assistant and MQTT support: the alarm can appear in Home Assistant automatically (alarm panel + a sensor per zone) without writing any configuration. See Home Assistant & MQTT.
Table of contents
- Install
- Quick start
- The web Alarm Panel
- Home Assistant & MQTT
- Zones
- Examples
- Help & support
- Changelog
Install
In Node-RED: Menu → Manage palette → Install, then search for alarm ultimate and click install.
That's it — the alarm nodes and the web panel are now available.
Quick start
- Drag an Alarm System node into your flow.
- Double‑click it, click Manage zones, and add at least one zone (give it a name and a topic, e.g.
sensor/frontdoor). Click Done. - Click Deploy (top right).
- Open the web Alarm Panel to arm/disarm and see the status (see below).
To make the alarm react to your real sensors, send each sensor's state to the Alarm node:
- door/window opened → message with
topic = sensor/frontdoorandpayload = true(also acceptsopen,on,1) - closed → same topic with
payload = false(alsoclosed,off,0)
Using Home Assistant, MQTT or KNX? You usually don't need to build this by hand — see the sections and examples below.
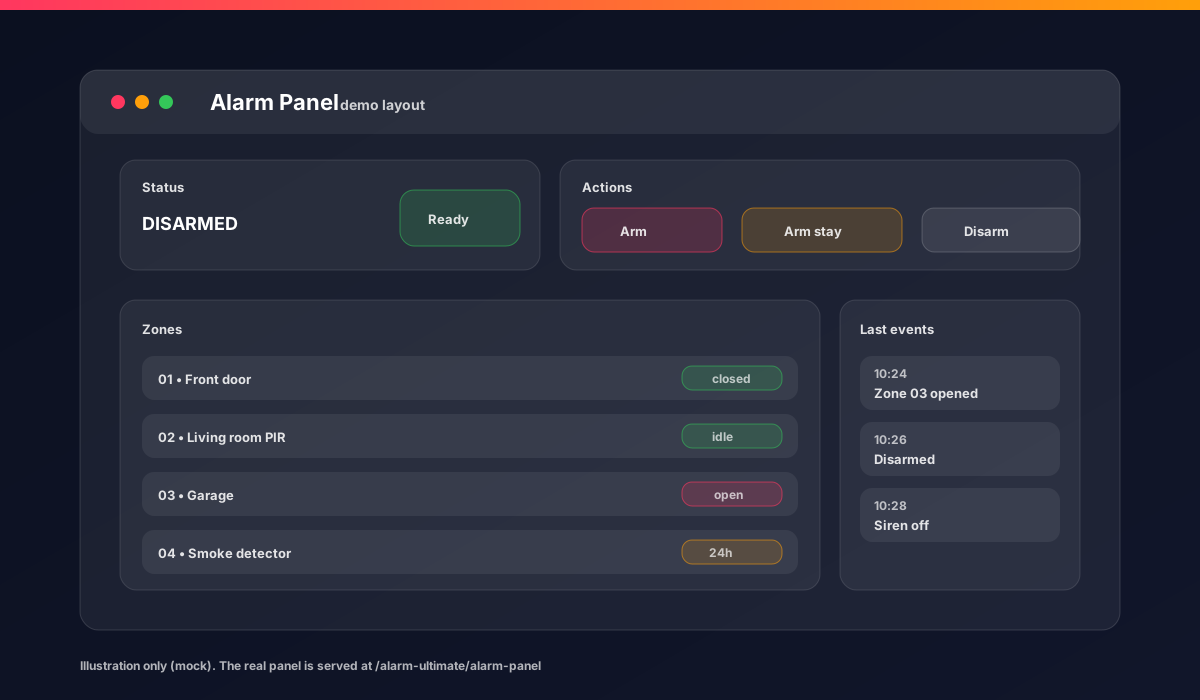
The web Alarm Panel
A full keypad‑style panel is included and opens right from your browser:
- Alarm Panel:
http://<your-node-red>/alarm-ultimate/alarm-panel - Zones helper (visual zone editor):
http://<your-node-red>/alarm-ultimate/alarm-json-mapper
When Node-RED runs as the Home Assistant add-on, open these pages from the buttons in the
Node-RED editor. Home Assistant Ingress adds a session-specific prefix to the URL; a manually
typed URL such as http://<home-assistant>:8123/alarm-ultimate/... targets Home Assistant itself
and returns 404. The editor buttons preserve the Ingress prefix automatically.
From the panel you can arm/disarm (with code if enabled), bypass zones, trigger panic, and read the event log. It can also be embedded in the Node-RED Dashboard — see the ready‑made flows in Examples.
Home Assistant & MQTT
Open the Alarm node and go to the MQTT / HA tab:
- Tick Enable MQTT and select (or create) an Alarm MQTT broker configuration with your Broker URL (e.g.
mqtt://192.168.1.10:1883) and, if needed, username/password. - Leave HA discovery and Publish zones enabled.
- Deploy.
Your alarm now appears automatically in Home Assistant (same MQTT broker) as an Alarm panel entity, with one sensor per zone, all grouped under a single device. Arm/disarm from Home Assistant and the state stays in sync both ways.
Have more than one Alarm node? Point them all at the same broker configuration: they share a single MQTT connection, and you enter the broker settings only once.
Prefer to wire it yourself, or already use the Home Assistant Add‑on? There are ready‑to‑import example flows for both — see Examples.
Zones
Each zone is a sensor the alarm watches. From Manage zones you can set, per zone:
- Type: perimeter, motion, 24h, fire or tamper (24h/fire/tamper always trigger, even when disarmed).
- Entry zone: starts the entry countdown instead of triggering immediately.
- Bypassable / Chime and more.
- Sensor supervision (optional): if a sensor stops reporting for a while, the panel shows it as
MISSINGand can block arming — useful to catch dead batteries.
Zones can be exported/imported for backup from the Settings page, and there is a visual Zones helper to build them from a sample message (e.g. KNX) or an ETS group‑address list.
Examples
Import any of these from Menu → Import (or see examples/):
alarm-ultimate-basic.json— a minimal working flow to try it out.alarm-ultimate-mqtt.json— connect the alarm to an MQTT broker.alarm-ultimate-home-assistant-alarm-panel.json— use it with the Home Assistant Add‑on and the HA Alarm Panel card.alarm-ultimate-dashboard.json/-controls.json/-v2.json— embed the panel in the Node-RED Dashboard.
Help & support
- Questions or bug reports: open an issue.
- Release notes: Changelog.