node-red-contrib-ui-led 0.4.11
A simple LED status indicator for the Node-RED Dashboard
Node-RED UI LED
A simple LED status indicator for the Node-RED Dashboard

The node uses msg.payload's value to determine status. By default:
msg.payload===true- Greenmsg.payload===false- Red- no
msgreceived yet ormsg.payload!==trueandmsg.payload!==false- Gray
Install
To install the node run the following from your Node-RED user directory (~/.node-red):
npm install node-red-contrib-ui-led
Or install the node from the Palette section of your Node-RED editor by searching by name (node-red-contrib-ui-led).
Aesthetics
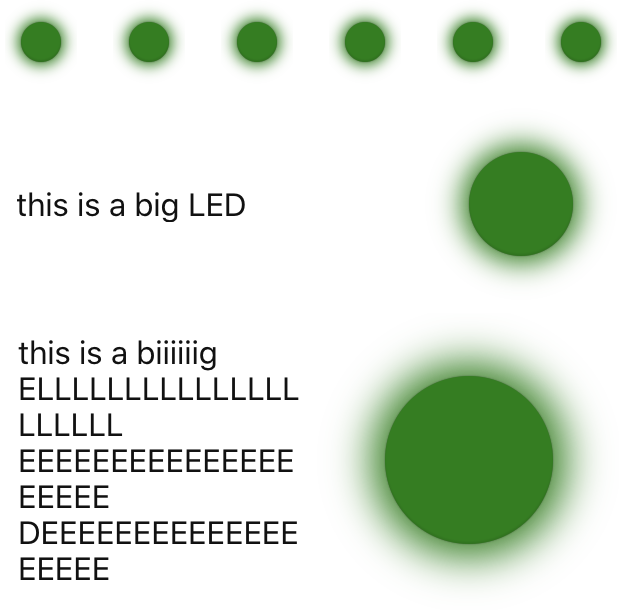
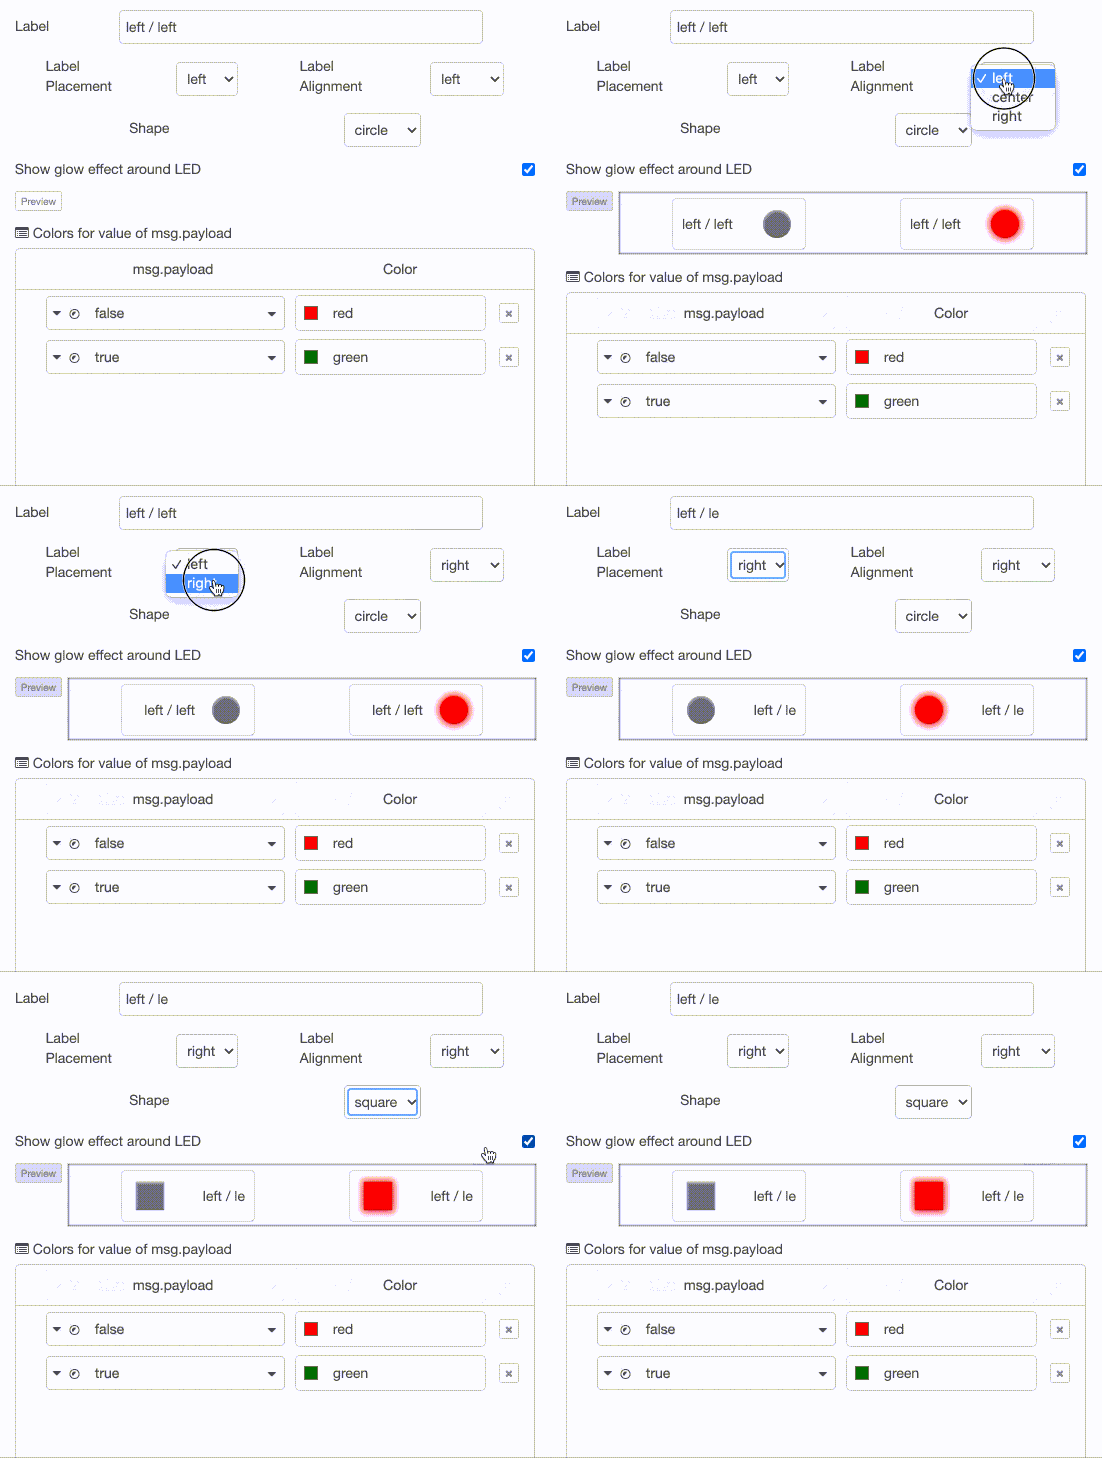
There are a number of options when it comes to the node's aesthetics.

Most other customization happens in the Edit panel, which includes a preview so you can tweak to your heart's content.

Custom Statuses
Although true => Green and false => Red is the default, one can map other payload values to any color.
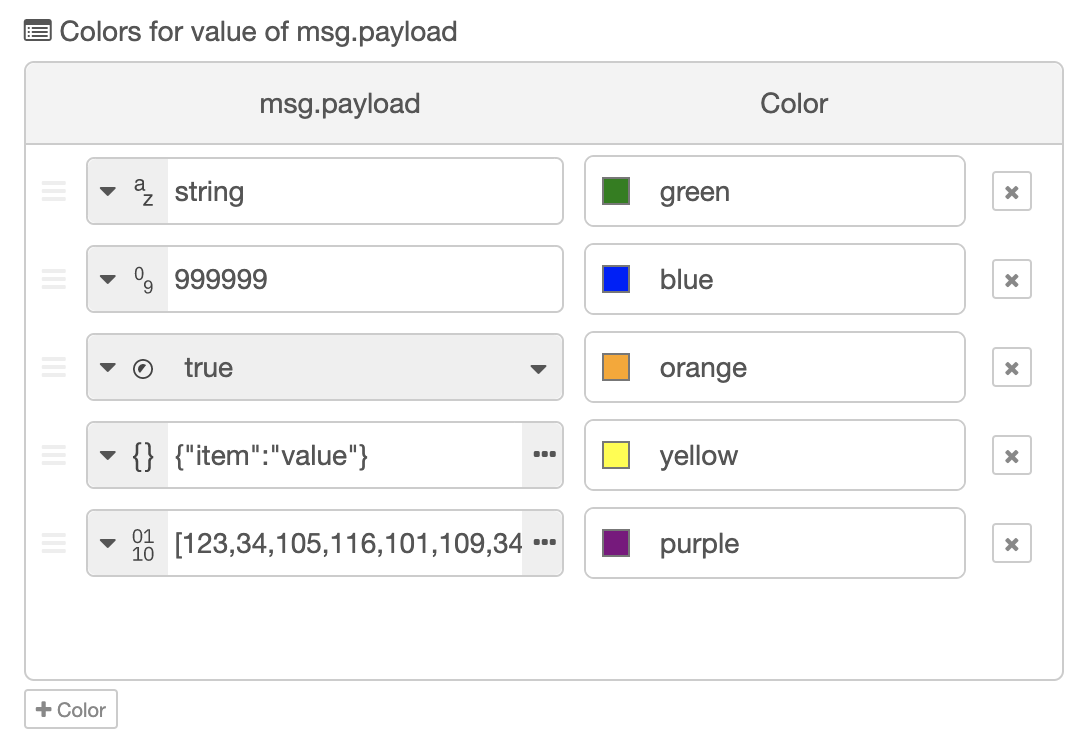
To customize the mappings open the node's configuration panel and scroll to the Colors for Values list.

To add a value mapping press the +Color button at the bottom of the list.
Next fill in a color in a CSS format (color name, hex, rgb, rgba...), select the value type (string, boolean...) and fill in an appropriate value.
Similarly existing Value => Color maps can be modified.
Finally to delete a mapping simply press the X button on the far right!
Custom Statuses in msg
By enabling Allow Color For Value map in msg in a node that node will use dictionaries passed via msg.colorForValue to override any previous color to value mappings.
The format should be value => color, ie an object whose key values return color values.
Example:
msg.colorForValue = {}
msg.colorForValue[true] = 'purple'
msg.colorForValue[false] = 'orange'
Further Examples
To see usages already set up check out the examples included with the project by using Import in your Node-RED editor!
License
Thanks to
- @alexk111 for his great Node-RED Typescript Starter which made it a breeze to convert the project over to Typescript


