node-red-contrib-tplink-tapo-connect-api 0.5.9
This unofficial node-RED node allows connection to TP-Link Tapo devices. This project has been enhanced with AI support to enable new features. Starting with v0.50, we have added support for the KLAP protocol. To prioritize the operation of this node, we
node-red-contrib-tplink-tapo-connect-api
This unofficial node-RED node allows connection to TP-Link Tapo devices. This project has been enhanced with AI support to enable new features. Starting with v0.50, we have added support for the KLAP protocol. To prioritize the operation of this node, we have simplified its functionality.

Supported Devices
| Device Model | Type | Energy Monitoring | Status |
|---|---|---|---|
| P100 | Smart Plug | ❌ | ✅ Supported |
| P105 | Smart Plug | ❌ | ✅ Supported |
| P110 | Smart Plug with Energy Monitoring | ✅ | ✅ Supported |
| P115 | Smart Plug with Energy Monitoring | ✅ | ✅ Supported |
| TP15 | Smart Plug | ❌ | 🧪 Experimental Support |
| L510 | Smart Bulb (Dimmable) | ❌ | ✅ Supported |
| L520 | Smart Bulb (Dimmable) | ❌ | ✅ Supported |
| L530 | Smart Bulb (Color) | ❌ | ✅ Supported |
| L535 | Smart Bulb (Color) | ❌ | ✅ Supported |
Supported Features by Device
| Feature | P100/P105 | P110/P115 | TP15 | L510/L520 | L530/L535 |
|---|---|---|---|---|---|
| Device Info | ✅ | ✅ | 🧪 | ✅ | ✅ |
| Power On/Off | ✅ | ✅ | 🧪 | ✅ | ✅ |
| Device Usage | ✅ | ✅ | 🧪 | ✅ | ✅ |
| Current Power | ❌ | ✅ | ❌ | ❌ | ❌ |
| Energy Data | ❌ | ✅ | ❌ | ❌ | ❌ |
| Energy Usage | ❌ | ✅ | ❌ | ❌ | ❌ |
| Brightness Control | ❌ | ❌ | ❌ | ✅ | ✅ |
| Color Control | ❌ | ❌ | ❌ | ❌ | ✅ |
| Color Temperature | ❌ | ❌ | ❌ | ❌ | ✅ |
nodes
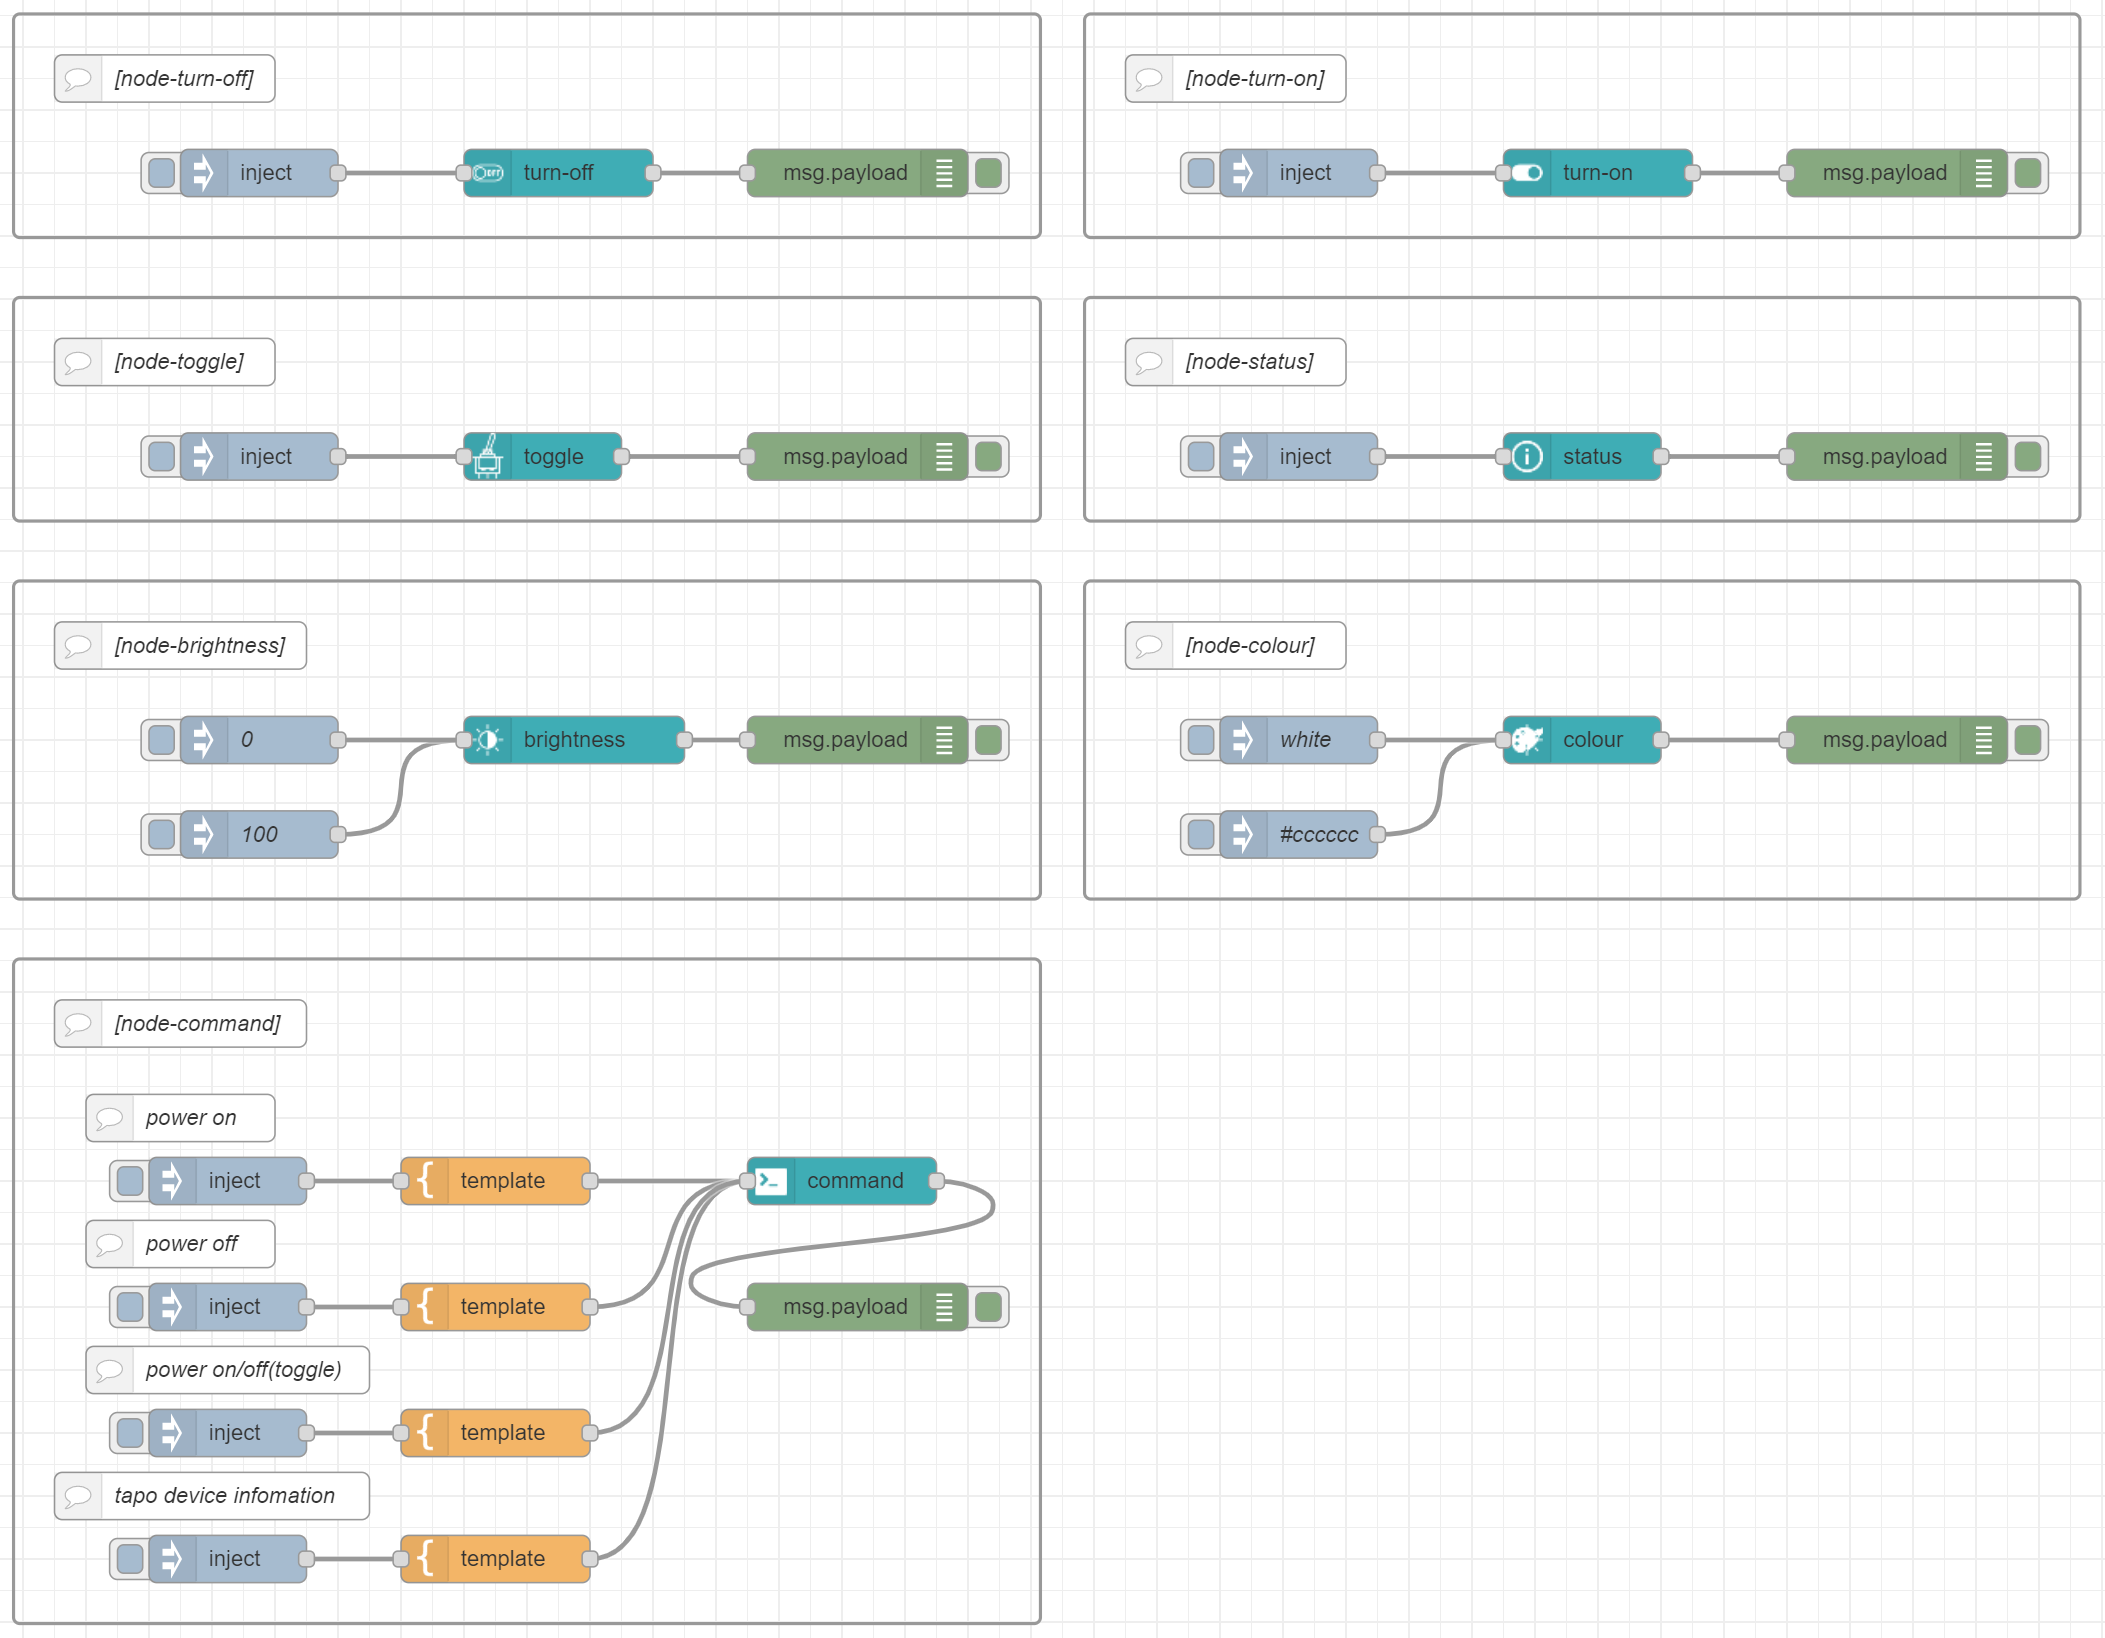
toggle

This node module provides the ability to toggle (on / off) the power of tapo smart plugs.
Note: When executed immediately, the device status may not be synchronized, which can cause toggle operations to fail. Please wait 10-30 seconds before executing the toggle operation.
turn-on

This node module provides the ability to power on tapo smart plugs.
turn-off

This node module provides the ability to power off tapo smart plugs.
brightness

This node module provides the ability to set the brightness of tapo smart bulbs.
colour

This node module provides the ability to set the color of tapo smart bulbs.
command

This node module provides several features by input
"msg.payload.command".power
tapo device power on/off
msg.payload.option0: tapo device power off 1: tapo device power ontoggle
tapo device power on/off(toggle)
status
get tapo device info
status

This node module provides the ability to get the device infomation of tapo smart plugs.
Models that can monitor energy acquire energy information.
Get the device information from
"output: msg.payload.tapoDeviceInfo, msg.payload?.tapoEnergyUsage(P110 only)".
Pre-requisites
The node-red-contrib-tplink-tapo-connect-api requires Node-RED to be installed.
Quick Start
To pull from docker hub:
docker pull sanlike0911/node-red-tplink-tapo-connect-api:latest
Install
npm install node-red-contrib-tplink-tapo-connect-api
Usage
Properties

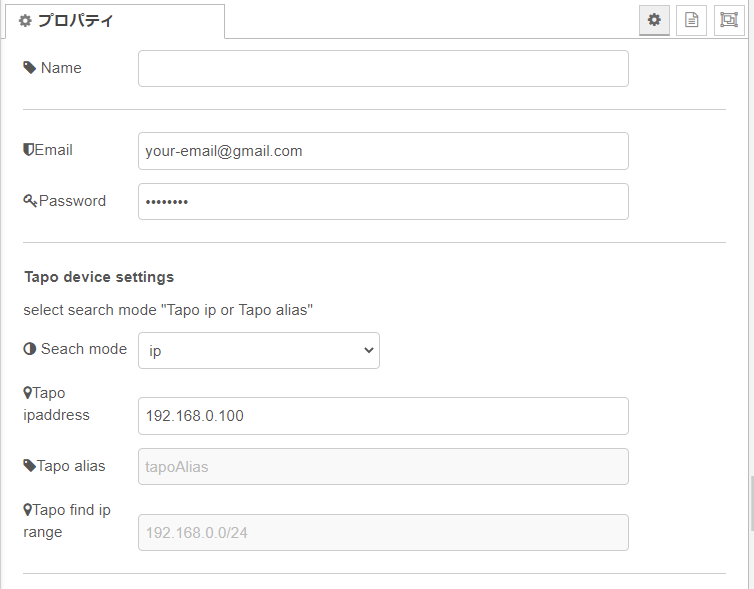
Name
Set the node name displayed in the flow.
Email
Set the email address registered with Tp Link.
Password
Set the password registered with Tp Link.
Tapo IP Address
Set the IP address of the Tapo device on your local network.
Inputs
msg.payload
type commandTypes = "" | "power" | "toggle" | "status";

type payload {
    email: string;
    password: string;
    deviceIp: string;
    command: commandTypes;          /* "node-command" only */
    option: {                       /* "node-command" only */
        power?: number;
    };
    colour: string;                 /* "node-colour" only */
    brightness: number;             /* "node-brightness" only */
}
[example1]
msg = {
  "email": "[email protected]",
  "password": "password",
  "deviceIp": "192.168.0.xxx",
  "command": "power",
  "option": {
    "power": 0
  }
}
[example2]
msg = {
  "email": "[email protected]",
  "password": "password",
  "deviceIp": "192.168.0.xxx",
  "command": "toggle"
}
Outputs
The processing result is passed by msg.payload. It consists of an object that contains the following properties:
type tapoConnectResults = {
    result: boolean; /* true: success, false: failure */
    tapoDeviceInfo?: tapoDeviceInfo; /* smart plug device infomation */
    errorInf?: Error;
}
[smart plug device infomation]
You can tell if the device is on or off by getting "device_on".
true: smart plug power on
false: smart plug power off
{
  "result": true,
  "tapoDeviceInfo": {
    "device_id": "*************",
    "fw_ver": "1.2.3 Build 240617 Rel.153525",
    "hw_ver": "1.0",
    "type": "SMART.TAPOPLUG",
    "model": "P110M",
    "mac": "XX-XX-XX-XX-XX-XX",
    "hw_id": "*************",
    "fw_id": "*************",
    "oem_id": "*************",
    "ip": "192.168.0.100",
    "time_diff": 540,
    "ssid": "U0FOTElLRV9Jb1Q=",
    "rssi": -41,
    "signal_level": 3,
    "auto_off_status": "off",
    "auto_off_remain_time": 0,
    "longitude": 1370345,
    "latitude": 352543,
    "lang": "ja_JP",
    "avatar": "plug",
    "region": "Asia/Tokyo",
    "specs": "JP",
    "nickname": "44Ko44Ki44Kz44Oz",
    "has_set_location_info": true,
    "device_on": true,
    "on_time": 1965,
    "default_states": {
      "type": "last_states",
      "state": {}
    },
    "overheat_status": "normal",
    "power_protection_status": "normal",
    "overcurrent_status": "normal",
    "charging_status": "normal"
  },
  "tapoEnergyUsage": {
    "today_runtime": 515,
    "month_runtime": 681,
    "today_energy": 215,
    "month_energy": 1224,
    "local_time": "2025-07-28 23:38:34",
    "electricity_charge": [
      0,
      0,
      0
    ],
    "current_power": 405681
  }
}
npm-scripts
There are some npm-scripts to help developments.
- npm install - Install the testing environment in your project.
- npm run build - Make
./data/my-nodedirectory from thesrcdirectory and Install the my-node in Node-RED. - npm run start - Start Node-RED.
"http://localhost:1880"
file list
[root]
│  package.json
│  README.md
│  tsconfig.json
│
├─data -> `Node-Red work files`
│  │
│  ├─my-node -> `project files` The resource files and built files should be placed here.
│  │  │  package.json
│  │  │
│  │  └─nodes -> The resource files and built files should be placed here.
│  │     └─...
│  │
│  └─node_modules
│     └─...
│
├─dist -> `The project built files`
├─examples -> `node-RED flow files`
├─figs
└─src
    └─nodes -> project files
        ├─icons
        ├─lib
        ├─locales
        │  ├─en-US
        │  └─ja
        └─test
