node-red-contrib-googlehome-actions-v2 0.0.7
Google Home Actions V2
node-red-contrib-googlehome-actions-v2
NodeRed nodes to receive and respond Google Action's requests from Google Assistant.
It will create the webhooks you need, without any coding, or, at least, with the fewest lines of code possible. :-)
Right now it is only compatible with DialogFlow applications.
This node is a wrapper around Google's actions-on-google-nodejs client library using the Actions SDK.
It will use the Http Request and Response Nodes, responding at the same URL NodeRed is running.
Other plugins have been using Express to open another port in order to secure NodeRed. Now a days we have enough tech to protect NodeRed. We can use nginx or apache as reverse proxy or even API gateways like Kong to obfuscate the URL's we don't want to be publicly available.
NodeRed must be running with a public address and HTTPS in order to work with Google Home SDKs
The default design of a flow using this plugin will be like the image below:

A Controller Node must have a Http Request Node at its input and Http Response Node at its second output. Always.
The Http Request Node must have been configured to receive a POST request at the same path you have configured your fulfillment section of dialog flow's console.
A Controller Node must have all Intent Nodes connected directly to itself. At its first output, always. You must create as much Intent Nodes as you have created at dialog flow's console.
Every Intent Node will have at least one Ask Node. It can have more. The Ask Node have a message property that will define the default answer to the intent. It can be changed later.
At Ask Node output comes the logic you need to answer the question. You can use the msg.req.params to have access to all parameters sent by Google Home and use them to process your answer. You can have access to the conv object at any time using the msg.res.conv property. So, if you want to know if an user is verified you can check the msg.res.conv.user.verification property.
After your logic you must put all answers on the msg.gh_messages. This is an array of messages that will be sent back to google home by the Send Node.
The last node is the Send Node. It will get the msg.gh_messages and finish the conversation.
The msg.gh_messages is an array of messages objects. Each item has its own format depending of the type of the answer.
Some examples below:
[{
    "type": "SimpleResponse",
    "message": "Your Message here"
},{
    "type": "link",
    "message": {
        "url": "https://example.com"
    }
},{
    "type": "permission",
    "permission": {
        "context": "I need to know your name.",
        "permissions": ["NAME"]
    }
}]
Simple like that. You can use any NodeRed nodes you want to make your logic and assembly your messages.
Enjoy!
Installing
npm install node-red-contrib-googlehome-actions-v2
or add to your package.json
"node-red-contrib-googlehome-actions-v2": "*"
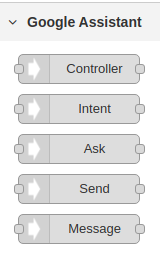
The nodes will appears at NodeRed like this:
Advanced
Here we have a flow asking for user permission so we can have access to his name. We are using output context to know to which timeline goes back after permission has been granted or denied.

First we have to check if we have or not the name using a Switch Node
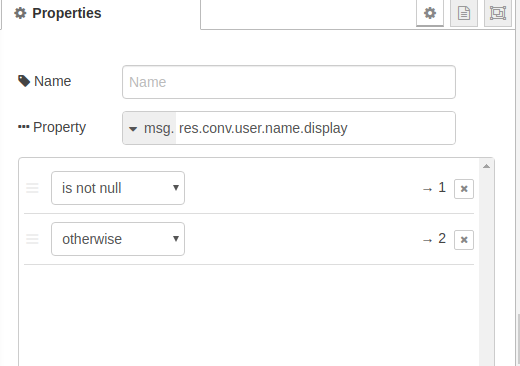
If we don't have it, we can use the Template Node to request permissions
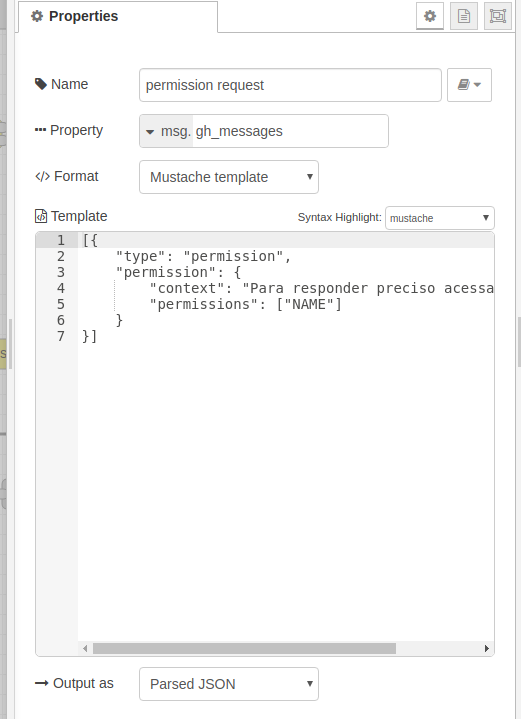
At Dialog Flow's Console you must create an intent to the permission's event. Than, at NodeRed, you have to create the same intent, this intent will be used when the permission has been granted or denied.
At this permission's intent you can use a Switch Node to check if the user name has already been granted or not. It will be present if it was already granted.
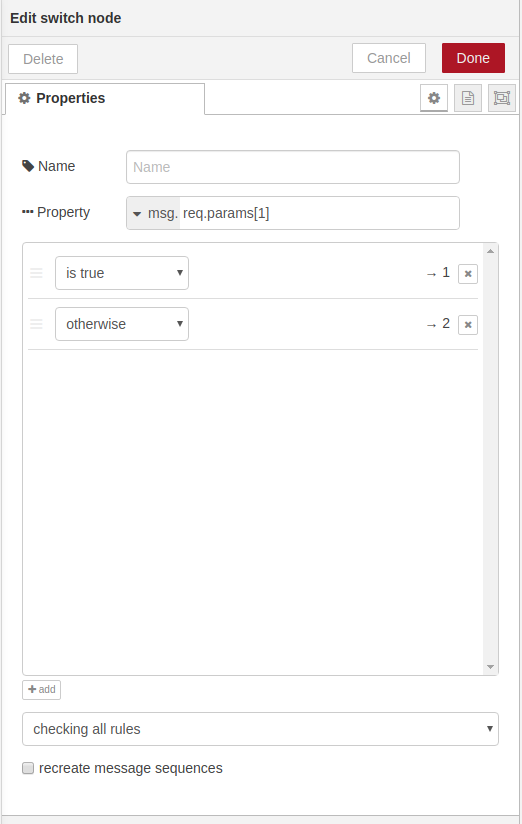
If user granted it, you can check the context to know to which timeline send this request. At permission's event on Dialog Flow's Console you must set an output context. This context will be at input context on NodeRed's received message.
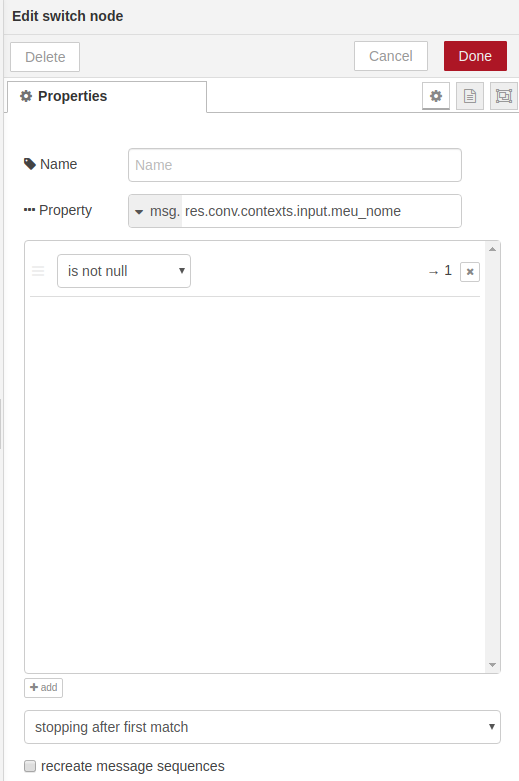
Now you can connect the output from this switch to the first one we created. The user's name will be there and you can just say the name using a Template Node
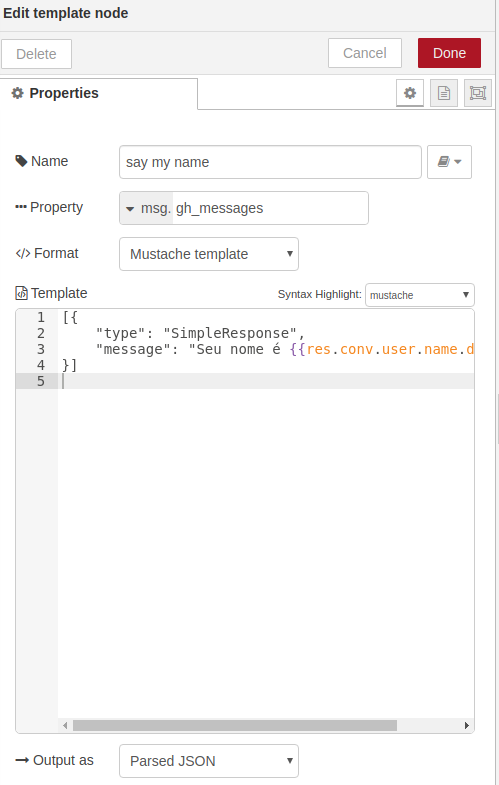
That's it... a more complex scenario... no coding... at all!
SSML
Yes, it can be used.
It will be something like this:
[{
    "type": "SimpleResponse",
    "message": "<speak>My name is bond. <break time=\"1000ms\"/>James Bond.</speak>"
}]
Message Node
The Message Node is optional. If you don't want to assembly the response JSON by yourself. Get a look at it.
You can use a fixed value, or, send a property inside msg.payload and this node will assembly the
message and add or set it to msg.gh_messages for you.
Donation
And... if this helps you to save time and money. Pay me a coffee. :-)

